When using the laser it is a fun thing to use but you have to know what your doing or you will do some costly damage to the machine. The laser is a laser that can engrave designs into things like water bottles and notebooks, etc. You can even make 3D projects on a laser but there are assembles you have to do to make 3D designs. Going back to the first sentence it can cost lost of money if you don't do steps on the laser correct like turning on the exhaust could damage it a lot. If you are printing you also have to make sure everything fits on to material you are putting it on because it will engrave anything or try to cut out things not on the materiel.
Note book

This is my note book in illustrator.
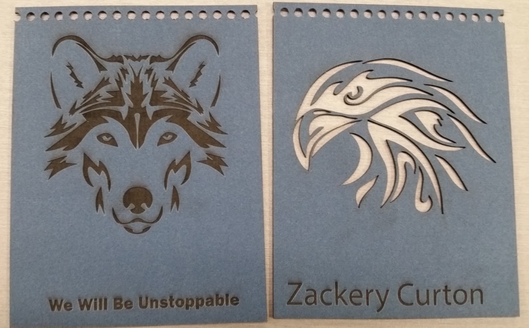
Step 1. go to the laser and follow steps on the thingiverse but in preferences click on board then mat board. then click print and this what it looks like after the laser printed it
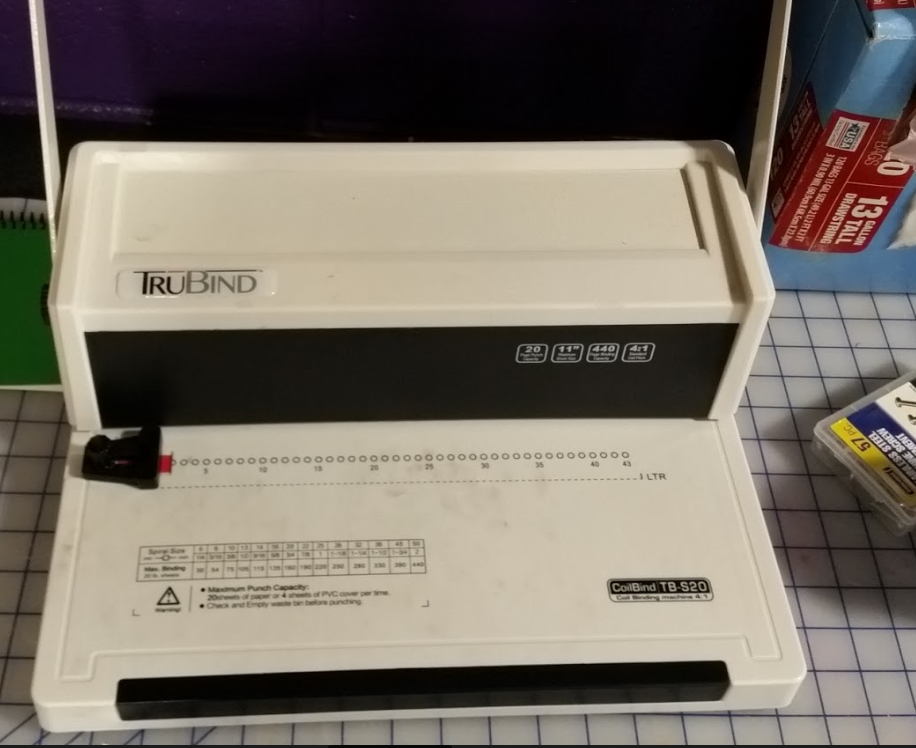
here it the hole puncher I used to punch the holes in the paper and the mat board. The one in the middle is the front side and the left is the back side.
Thingiverse
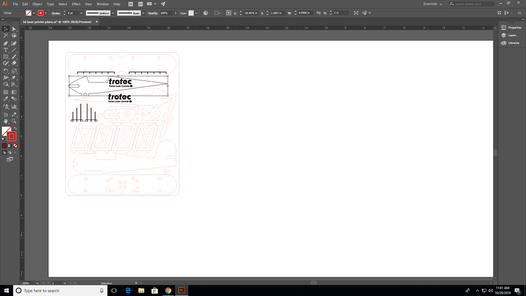
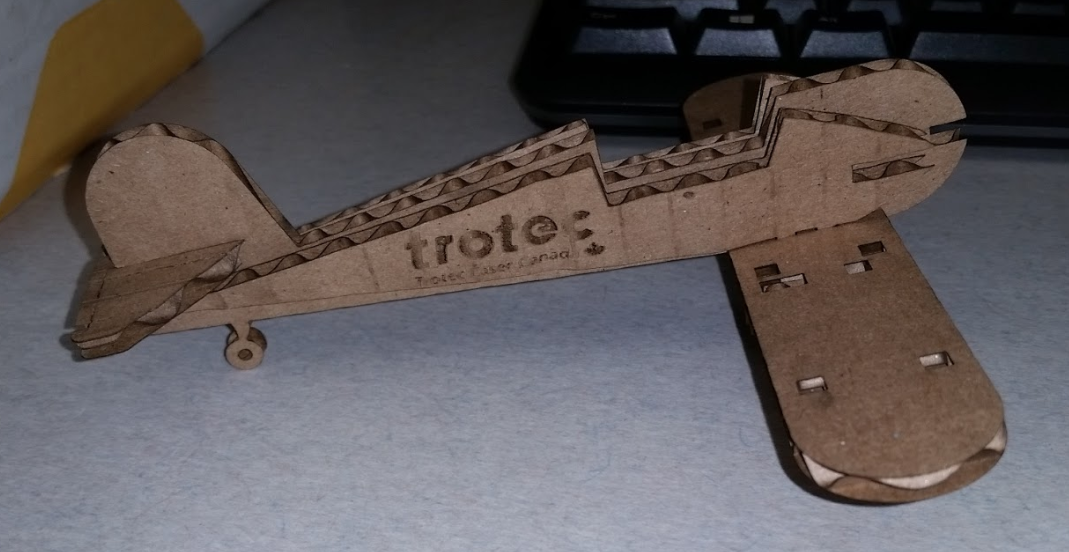
my thingiverse project is a airplane. It is hard to tell but all the parts are here and they are to the right size for the laser and on the top left side.

step 1.
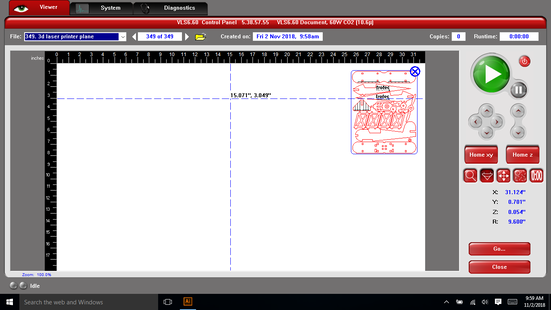
When you get on to the laser sign in and turn on the exhaust to the laser , then go to illustrator click on file then print, it will pop up a box and click on the down box to what ever your printer is and then setup, the click on preferences and then go up to foam then the type of cardboard you have, then put the thickness of the cardboard in and hit print the print again, go onto UCP and the design should be here like this, hit the power button to turn the laser on, once it is on, move the laser with the pointer button onto the material and then click on the arrows button then the top right corner of the design the click to pointer.
When you get on to the laser sign in and turn on the exhaust to the laser , then go to illustrator click on file then print, it will pop up a box and click on the down box to what ever your printer is and then setup, the click on preferences and then go up to foam then the type of cardboard you have, then put the thickness of the cardboard in and hit print the print again, go onto UCP and the design should be here like this, hit the power button to turn the laser on, once it is on, move the laser with the pointer button onto the material and then click on the arrows button then the top right corner of the design the click to pointer.
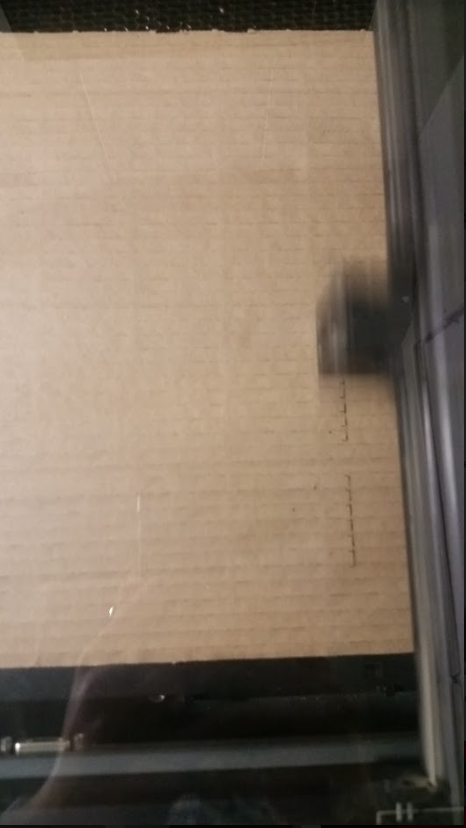
Step 2. once you have it all done and the laser and the design together then click the green button and watch the printer do its work.
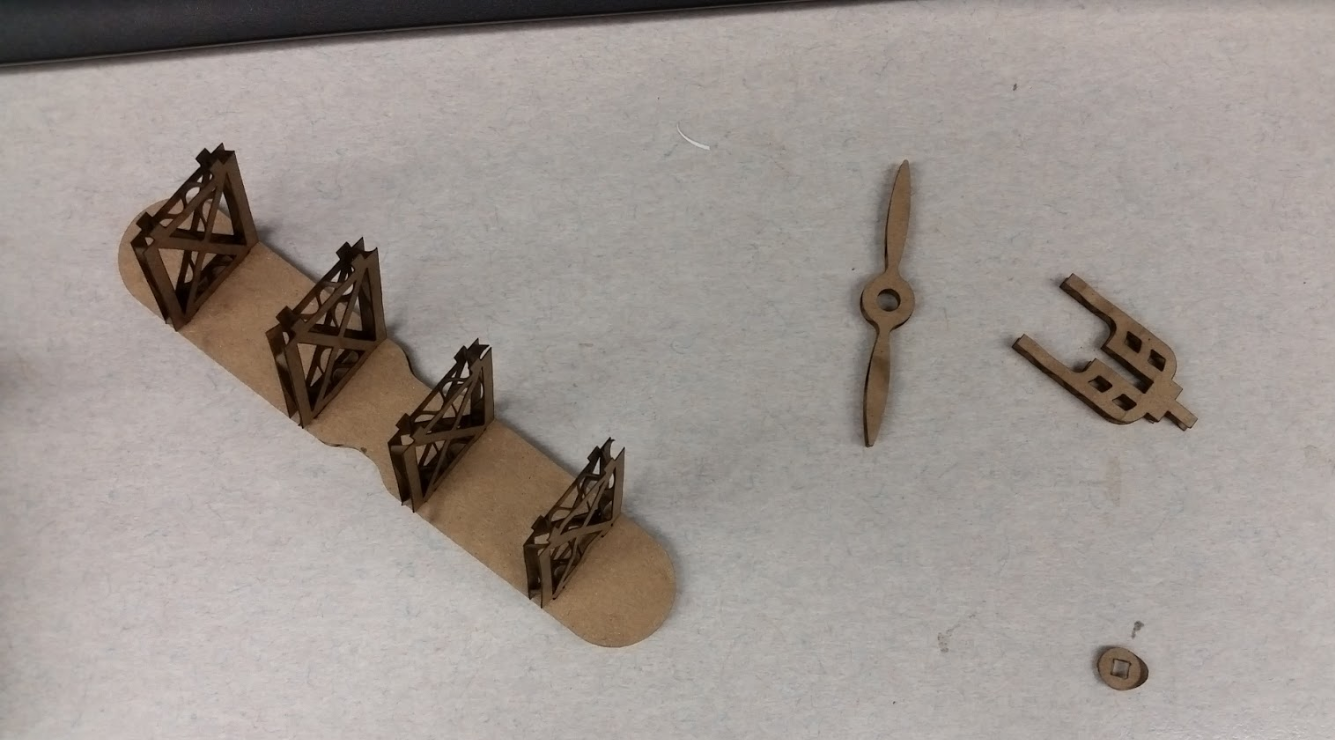
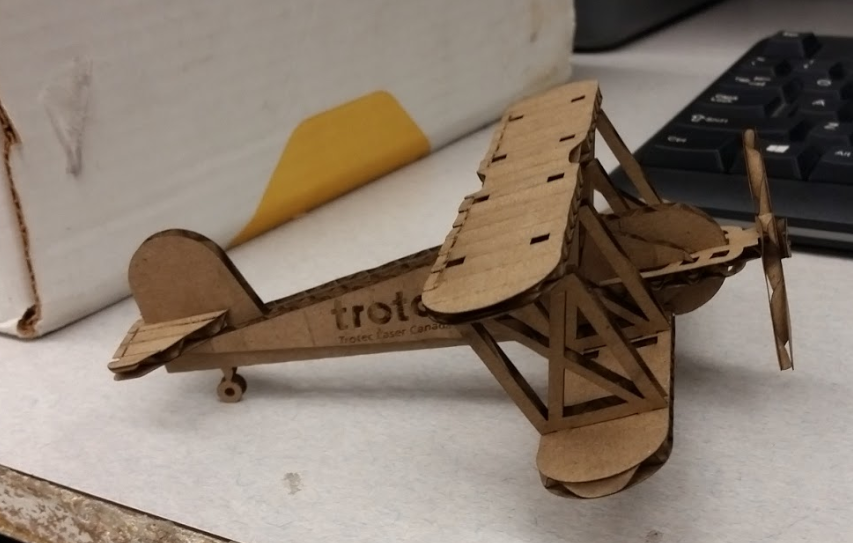
Here is the plane afterwards of the laser and it was hard to put on but it takes time to put together and easy to put together.


Water Bottle
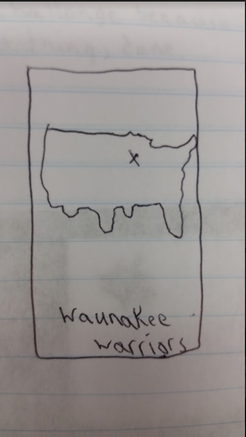
My water bottle sketch is the United States of America with an x close to Madison WI with Waunakee Warriors.
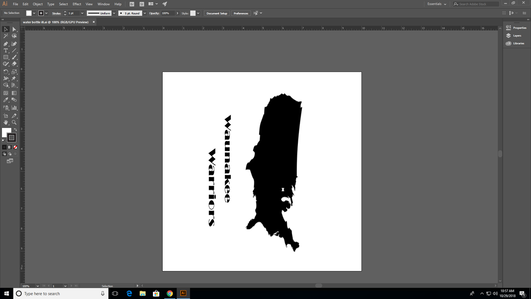
Here is Picture of it in illustrator.
Step 2. make sure everything is to the standards of the laser and then click on preferences, then go to metal, aluminum the anodized. Click on print then print again. Also it is a water bottle so no red is to be on there because it will cut it out and I think a water bottle is supposed to hold water.
Step 3. Go to UCP and your print should be in there if it isn't you missed a step and go back. If you didn't then go turn on the printer and wait for it to turn on. Once it turns on then go click on the focus tool it looks like a point, move it to the point it just hits the top of the water bottles flat not the neck. then go back and click o n the Relocation tool it looks like arrows, select the top middle of the print and then click to laser and it will go there. Once you do that then click on the bottom to make sure it does not go off, if it does not then click the green play button and close the door to the print if open.
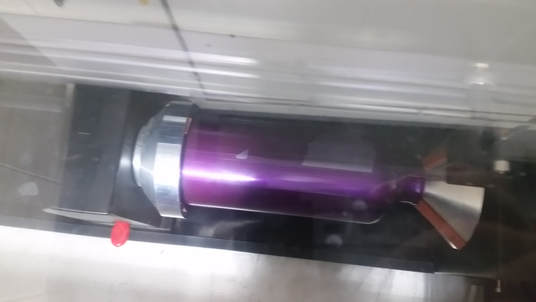
Here is the water bottle in the laser engraver.
What I learned:
I learned that Printing on a laser is the coolest thing ever. It is very precise on where everything is at and the small details to. It takes a long time to print on water bottles, it took about 18 mins on my water bottle. For the note book it was very fast and the engraving slowed it down but cutting out was fast. All of this was fun to do and it may get stressful in in a four day time period but it was fun and got a lot of things and drawings done before the four days started. The Thingiverse website was really hard to find what I wanted to do for the 3D design because I had lots of things I saw were cool.
I learned that Printing on a laser is the coolest thing ever. It is very precise on where everything is at and the small details to. It takes a long time to print on water bottles, it took about 18 mins on my water bottle. For the note book it was very fast and the engraving slowed it down but cutting out was fast. All of this was fun to do and it may get stressful in in a four day time period but it was fun and got a lot of things and drawings done before the four days started. The Thingiverse website was really hard to find what I wanted to do for the 3D design because I had lots of things I saw were cool.
